
Watercolor painting is a beautiful and versatile medium that offers artists a range of possibilities. One of the most exciting surfaces to work with is texture paper, which can elevate your watercolor artwork by adding depth, interest, and a unique character to your pieces. In this article, we’ll explore the top five techniques for mastering watercolor on texture paper, allowing you to create stunning artworks that stand out.
Understanding Texture Paper
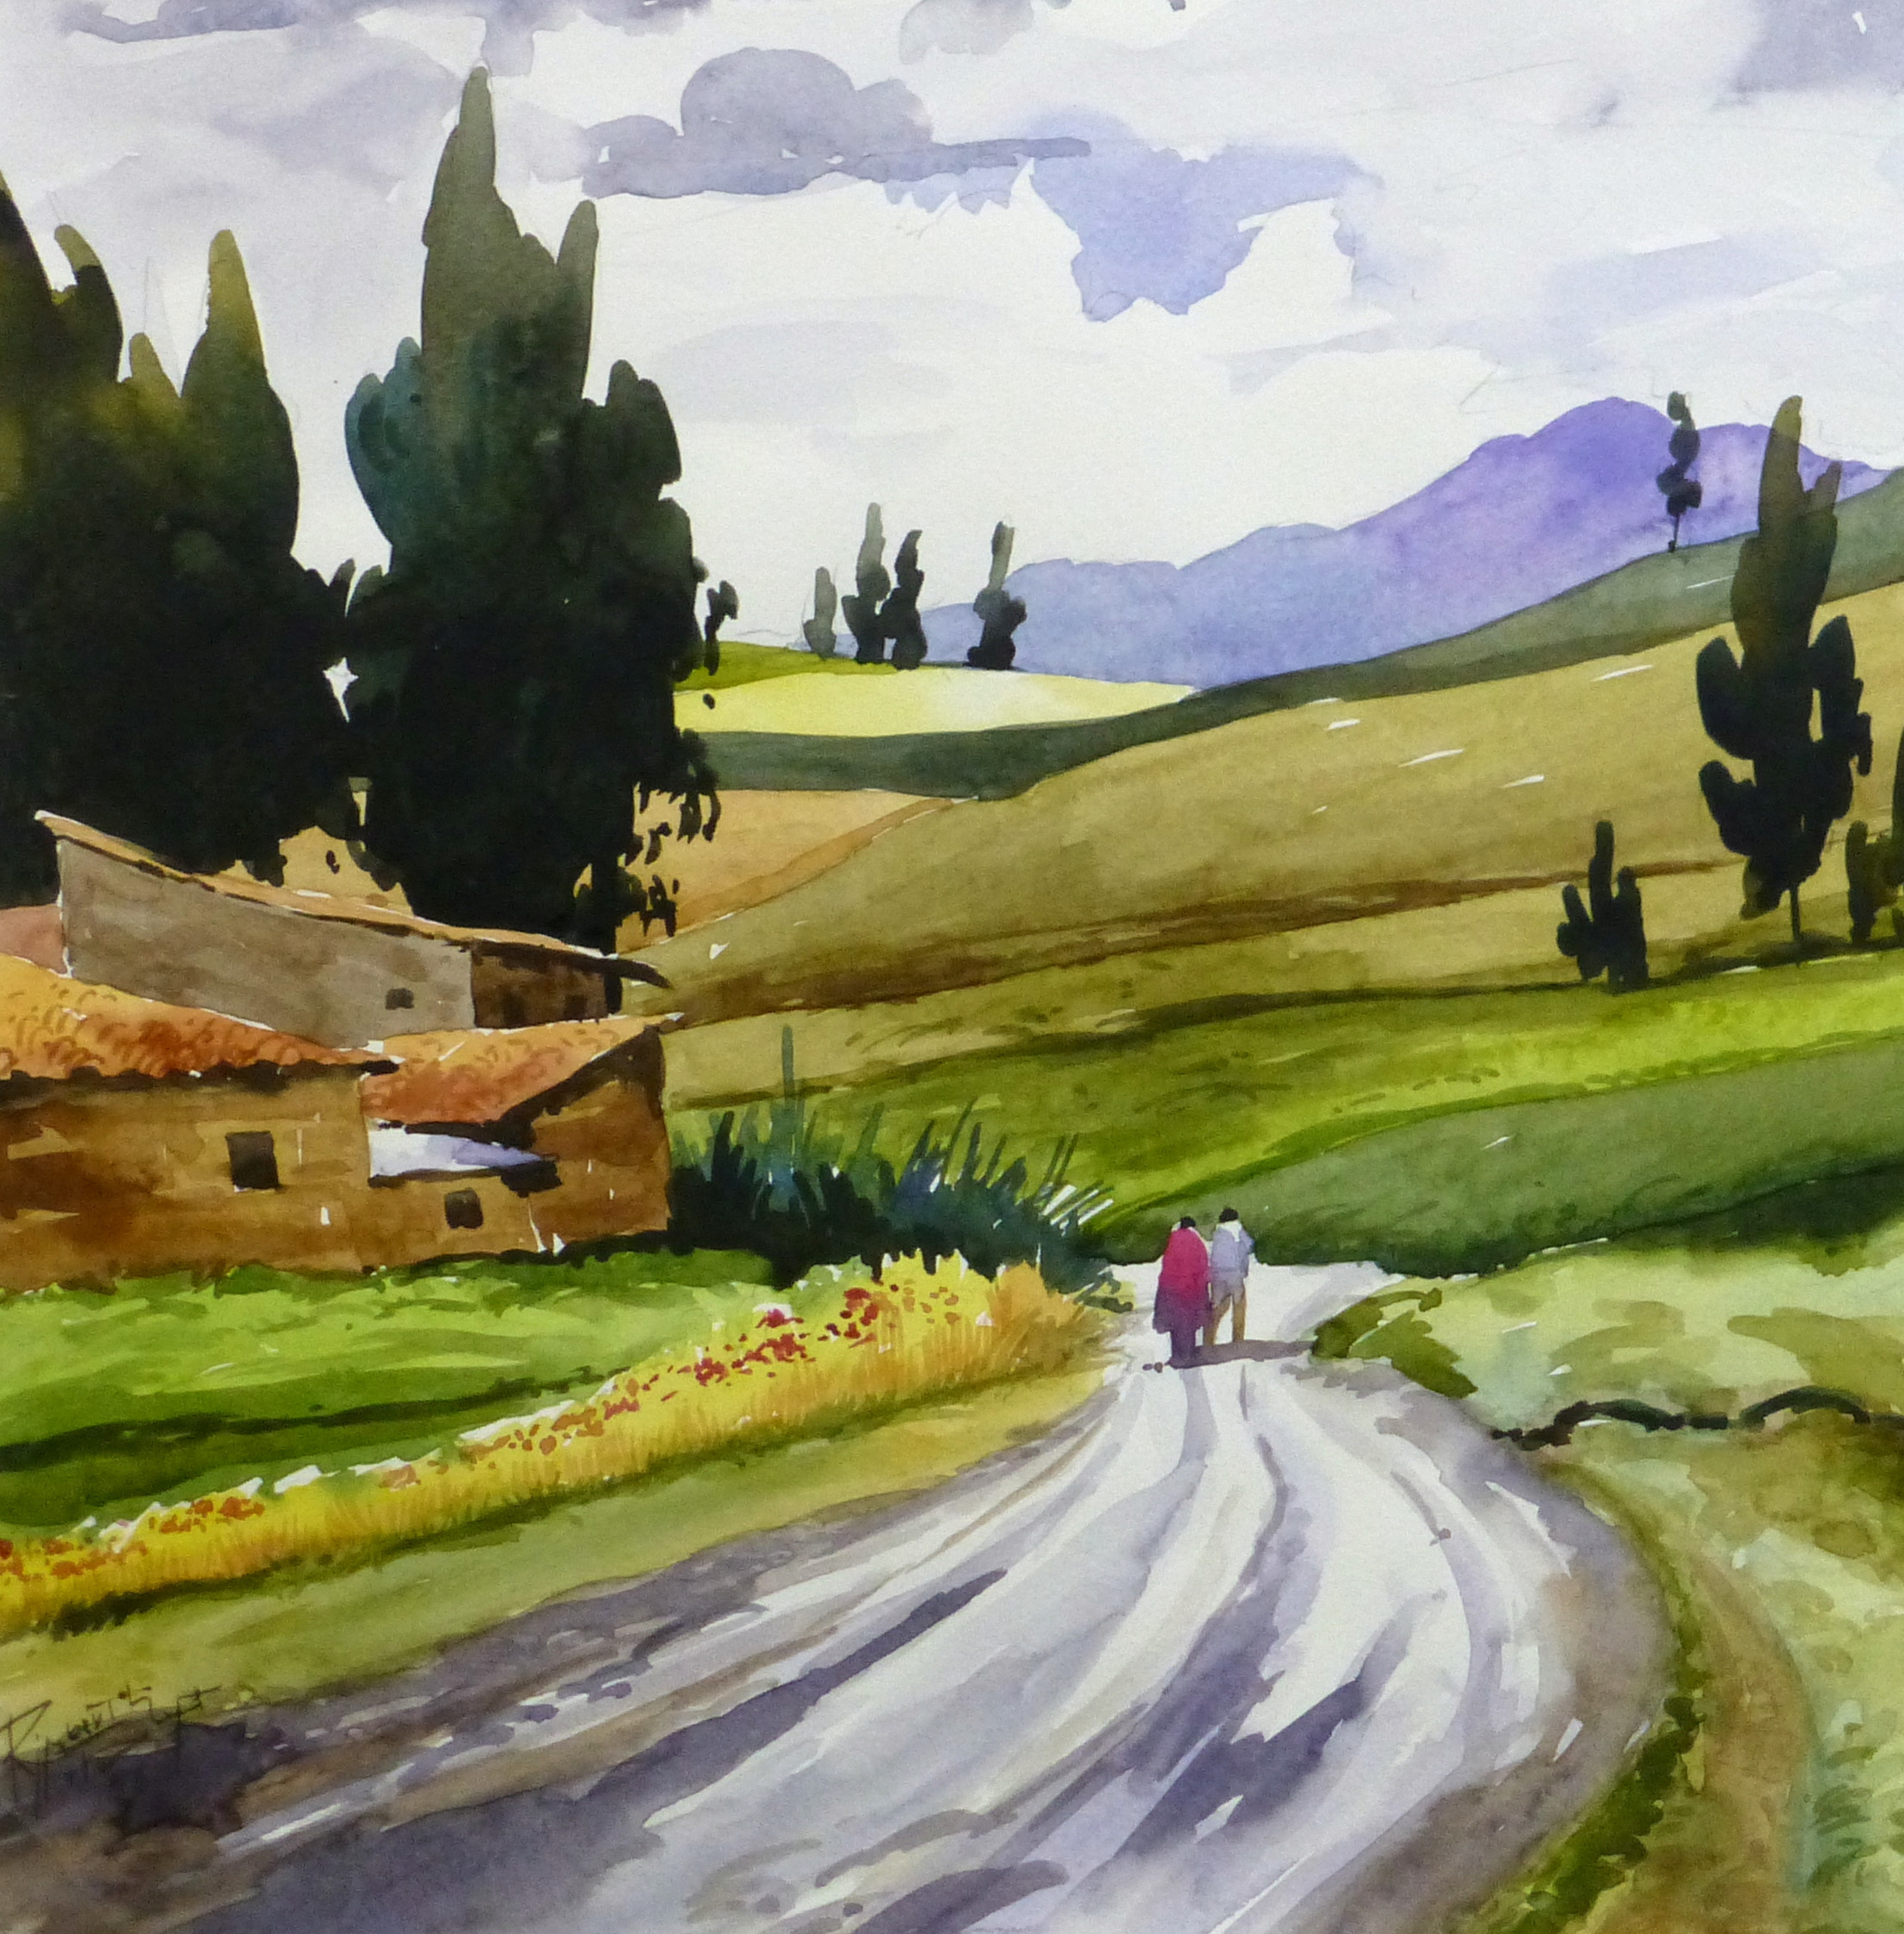
Before diving into techniques, it’s essential to understand what texture paper is and how it affects your painting. Texture paper comes in various finishes, from rough to smooth, and the texture can significantly impact the way paint interacts with the surface. Rough texture paper has peaks and valleys that hold water and pigment differently than smooth paper, leading to varied results in your artwork.
When selecting texture paper for your watercolor projects, consider the type of effect you want to achieve. Rough papers are excellent for creating dramatic landscapes, while hot-pressed (smooth) papers are better suited for detailed illustrations. Experimenting with different types of texture papers will help you discover your preferred outcomes.
Technique 1: Wet-on-Wet

The wet-on-wet technique is a classic approach in watercolor painting that works exceptionally well on texture paper. This method involves applying wet paint onto a wet surface, allowing colors to blend and flow into one another seamlessly. To use this technique on texture paper:
- Begin by wetting your paper thoroughly with clean water using a brush or sponge.
- Prepare your watercolor paints and have them ready to apply.
- Using a wet brush, apply pigment directly onto the wet surface. Watch as the colors diffuse and create soft edges.
This technique is perfect for creating atmospheric backgrounds or soft transitions in color, making it a favorite among landscape artists.
Technique 2: Dry Brush
In contrast to wet-on-wet, the dry brush technique allows you to create sharp lines and textures on your watercolor paintings. This technique involves using a relatively dry brush to apply paint onto the textured surface, allowing the paper’s texture to show through. Here’s how to execute this technique:
- Start with a slightly damp brush and pick up a small amount of pigment.
- Gently drag the brush across the texture paper, allowing the bristles to catch on the peaks of the paper.
- Add layers as needed, letting each layer dry before adding more to build depth and interest.
The dry brush technique is excellent for adding details to your artwork, such as fur, grass, or other fine textures. It emphasizes the tactile quality of texture paper, enhancing your overall piece.
Technique 3: Glazing
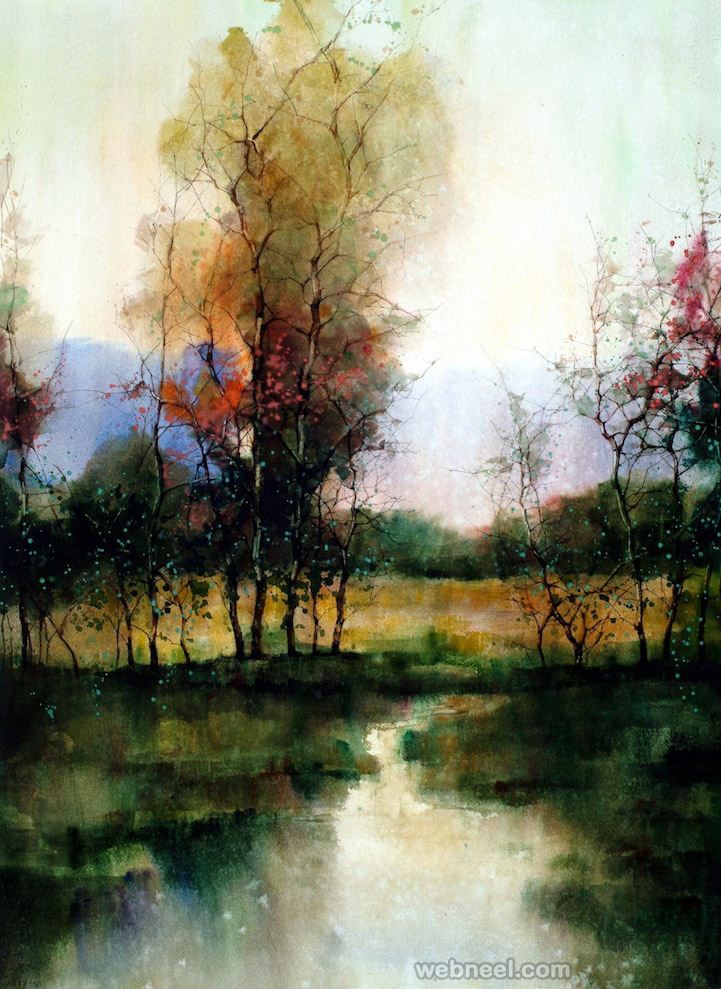
Glazing is a technique that involves applying a transparent layer of watercolor over a dried layer. This can create rich, luminous effects that add depth to your work. To master glazing on texture paper:
- First, paint your initial layer and allow it to dry completely.
- Choose a transparent watercolor and dilute it with water.
- Using a clean brush, apply the glaze over the first layer, letting the texture of the paper show through.
Glazing is particularly effective for creating shadows and building complex colors. The texture paper can enhance the final result, as the uneven surface will create a unique visual effect.
Technique 4: Splattering
Splattering is a fun and dynamic technique that can add spontaneity and excitement to your watercolor pieces. This method works well on texture paper because the uneven surface helps create varied splatter effects. Here’s how to use splattering effectively:
- Load a brush with diluted watercolor pigment.
- Flick the brush using your thumb or another brush to create splatters across your paper.
- Experiment with different brush sizes and amounts of water to achieve various splatters and drips.
Splatters can be used to create effects like stars in a night sky, foliage in a landscape, or even abstract patterns. Embrace the unpredictability of this technique, and let your creativity flow!
Technique 5: Lifting

Lifting is a technique used to remove pigment from the paper, allowing for corrections and highlights in your artwork. This can be particularly effective on texture paper because the rough surface can hold onto paint differently than smooth paper. To lift correctly:
- Paint your initial layer and let it dry.
- Use a damp brush or sponge to gently scrub the area where you want to lift pigment.
- Blot with a paper towel to remove excess water and pigment.
Lifting can be useful for creating highlights or correcting mistakes, and the texture paper can give a unique look to the lifted areas, making them stand out against the painted background.
Mastering these five techniques will enhance your watercolor painting skills, particularly when working with texture paper. The unique qualities of texture paper can inspire new artistic directions and styles, encouraging you to explore the myriad possibilities that watercolor offers. As you practice, remember to experiment and have fun—each piece will teach you something new and help you grow as an artist.